Groups
1.7
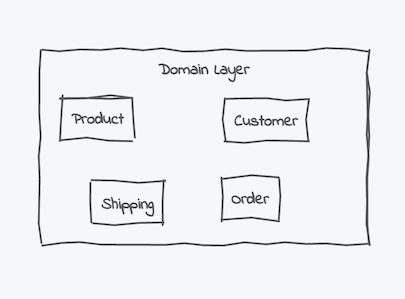
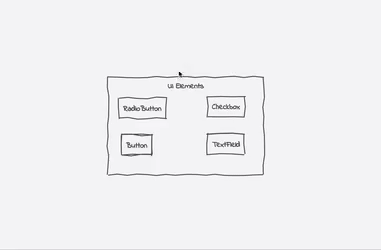
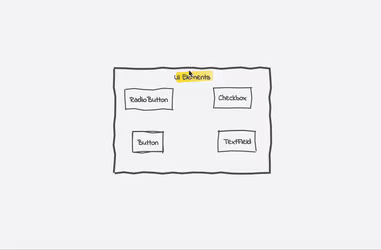
The UML specification knows different ways of organizing or separating classes into several groups. Packages might be the most known ones, but there are other possibilities like adding an internal structure to a class. To simplify this a bit, UMLBoard defines the single concept of Groups. A group is a just a visual container that can be used to organize several classes and notes into a logical unit.
Creating
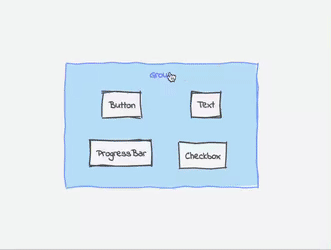
You can create a group by drawing a selection rectangle with your mouse (hold down the left mouse button and start moving your cursor over the diagram) while pressing the Ctrl / Cmd key. The selection rectangle should switch its style from a dashed to a solid line, indicating that you're in the group-creation mode. Just release the mouse to create your group. The cursor will automatically switch to the group name's edit field. Please keep in mind to hold the key while you release the mouse button, otherwise you would switch back to selection mode before your group gets created.
Tip
You can also use the shortcut Ctrl + Shift + G ( Cmd + Shift + G on macOS ) to directly switch to group-creation mode. Then you don't have to keep the Ctrl/Cmd key pressed while drawing your rectangle.
Movement and Selection
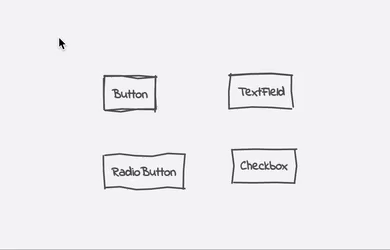
A group includes all classes and notes it partially encloses, and all other groups it encompasses totally.
Also, note that groups have a different selection handling:
- Whenever you select a group, all other elements will automatically be deselected.
- Selecting any other element than a group will automatically deselect any previously selected group.
This was done to avoid strange edge cases where one could select a group and only a subset of its members as it would not always be clear on which of the elements any potential action (like copy or delete) should be applied.
The group's content will be determined dynamically, so when you start moving a group, all elements which are part of the group when the movement begins will also be impacted. You can adjust the group's dimension anytime by dragging its edges.
Editing
Name
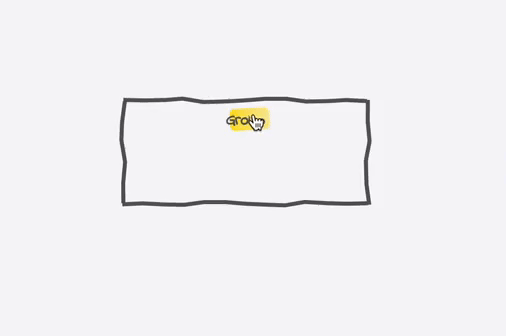
To edit the title of a group, double-click on the title text or use the Edit action from the group context menu (click either on the title or the group's border to open the corresponding menu). If you prefer a titleless group, just leave the text blank. You can edit it later by hovering your cursor over the group and clicking on the watermark - text that appears instead of the group title.
Moving the Name
1.9
While clicking and dragging the group's name moves the whole group, pressing Shift while dragging the name lets you move the group's title while the remaining group elements stay at their current position. In that way, you can even move the name outside of the group of far away at another position. However, the title and the group stay connected, so when dragging the name without Shift, the group will also move.
To reset the name's position and active the auto-positioning mode, right click on the group title to open the wheel menu and uncheck the lock entry. The name will immediately snap back to its default position.
Style
Using the context menu, you can choose between different styling options for your group:
- Line Style: You can choose between a solid border or a dashed border. The group's frame will always be drawn in the current line color. To change that color, select the coloring item from the wheel menu (see below).
- Fill Style: By default, a group does not use any fill pattern, and its background will be rendered transparent. To change the background pattern, you can choose between a solid fill mode or a hatch pattern (similar to the one used for painting classes). The background will always be drawn with the current fill color. If no fill color has been assigned yet, the color dialog will automatically pop up after selecting the background pattern and let you choose your desired background color.
Coloring
Groups also introduce a new color handling. When opening the color dialog - through the context menu action - you can now choose whether you want to change the group's text, line, or background color separately. Just choose the corresponding item from the top of the dialog and click on the desired color to assign a color to it. Do so until you give each element its desired color.
To close the dialog, simply click again on the set color or click outside the dialog. Pressing Esc will cancel your color editing process without applying your changes.

Tip
To assign a single color quickly, just double-click on it. This will assign it to the selected element and close the dialog directly.
To restore the element's default color, choose the neutral color circle on the right end of the last row.
Deleting
For deleting a group, you have two options: You can either delete only the group and keep its content untouched (the default setting), or you can choose to delete the group and all its children. Of course, both delete operations can be undone.
Tips and Tricks
Simulating Packages
While UMLBoard does not directly support the visual style of UML packages, this can easily be emulated: Just create a class with the same name as your package would have and move it directly to the group's border. Since a class will also be included in the group if only a tiny part of it is inside the group, your "docked" class will move together with the group, giving you the desired UML-package-like effect.
Connecting Groups
At the moment, groups don't provide any anchor points that could be used to connect elements1. But you could still draw connections between groups by using classes as your connection points. Create two classes and "dock" them at the desired borders of each group. Now, just create a connection between the two classes. Since the classes will be moved as part of the group, it will look as if both groups are connected through these class "slots."
References and further readings
-
However, while not available yet, this feature might be implemented in a future version. ↩